
PyCharm IDE is one of the best Python IDEs for efficient coding and development. It offers intelligent code completion, powerful debugging tools, and seamless virtual environment integration. In this step-by-step guide, you’ll learn how to install and configure PyCharm for a smooth Python development experience.
Table of Contents
Step 1: Install Python (If Not Installed)
PyCharm requires Python to be installed on your system.
- Download the latest Python version from https://www.python.org/downloads/.
- During installation, check the box “Add Python to PATH” to enable command-line access. If you don’t know or don’t have an idea about what this “Add Python to PATH” means, check this post “Understand how PATH Variable works Beginner’s Guide 2025”
- Verify installation by running this command in your terminal:
python --versionStep 2: Download and Install PyCharm
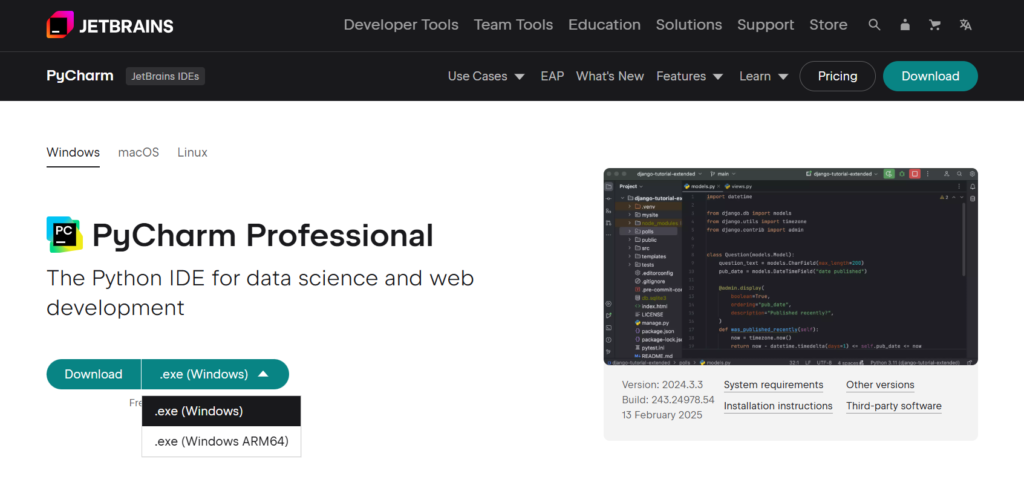
- Visit the official JetBrains website: https://www.jetbrains.com/pycharm/.
- Choose between PyCharm Community Edition (free) or PyCharm Professional Edition (premium features).
- Download the correct version for Windows, macOS, or Linux. For Windows, you need to select the exact processor.
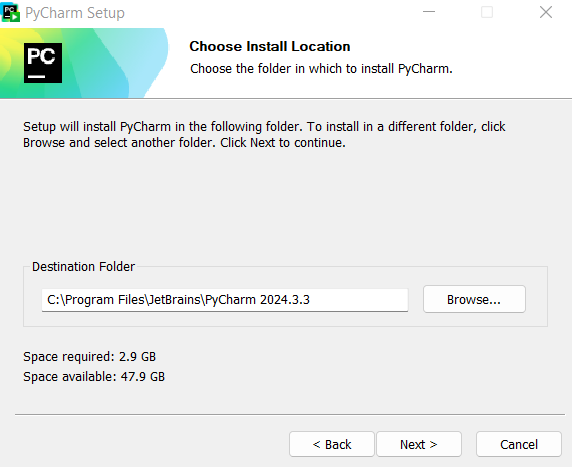
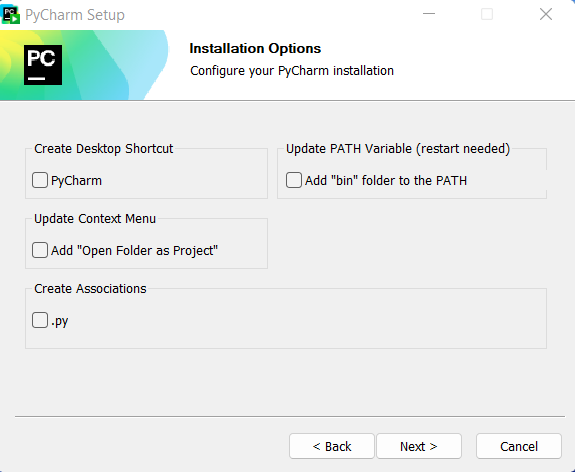
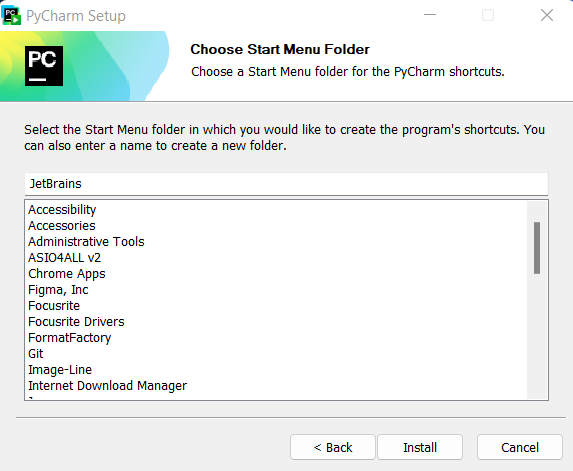
4. Run the installer and follow the setup instructions. During the installation, it will ask
Note: You can get PyCharm Professional Edition with JetBrains Educational Pack if you are a university student. Check this post for more.
Step 3: Set Up PyCharm for Python Development
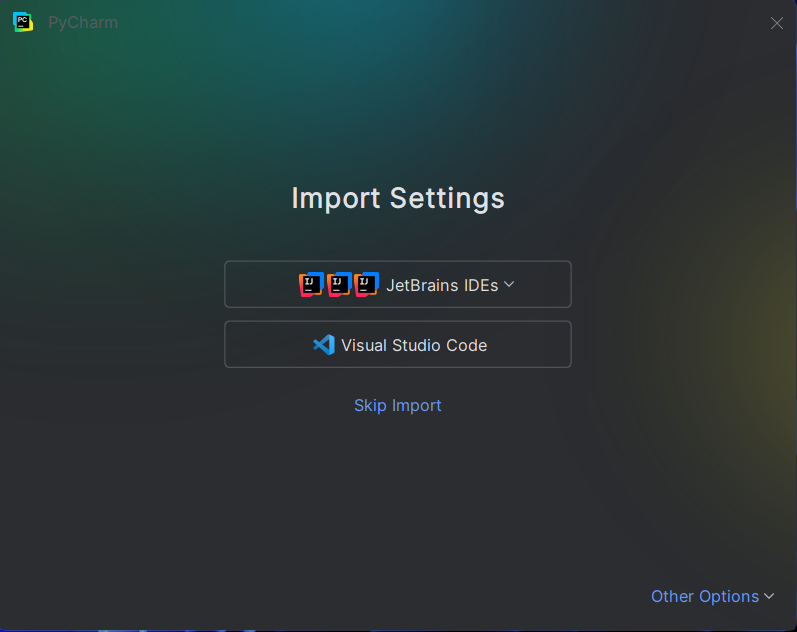
Once you open PyCharm for the 1st time you will see the below pop-up. From there you can import settings if you have saved files (using other options at the right bottom) or with JetBrains IDE, Visual Studio Code.
Once all the required plugins are installed successfully, close and restart PyCharm.
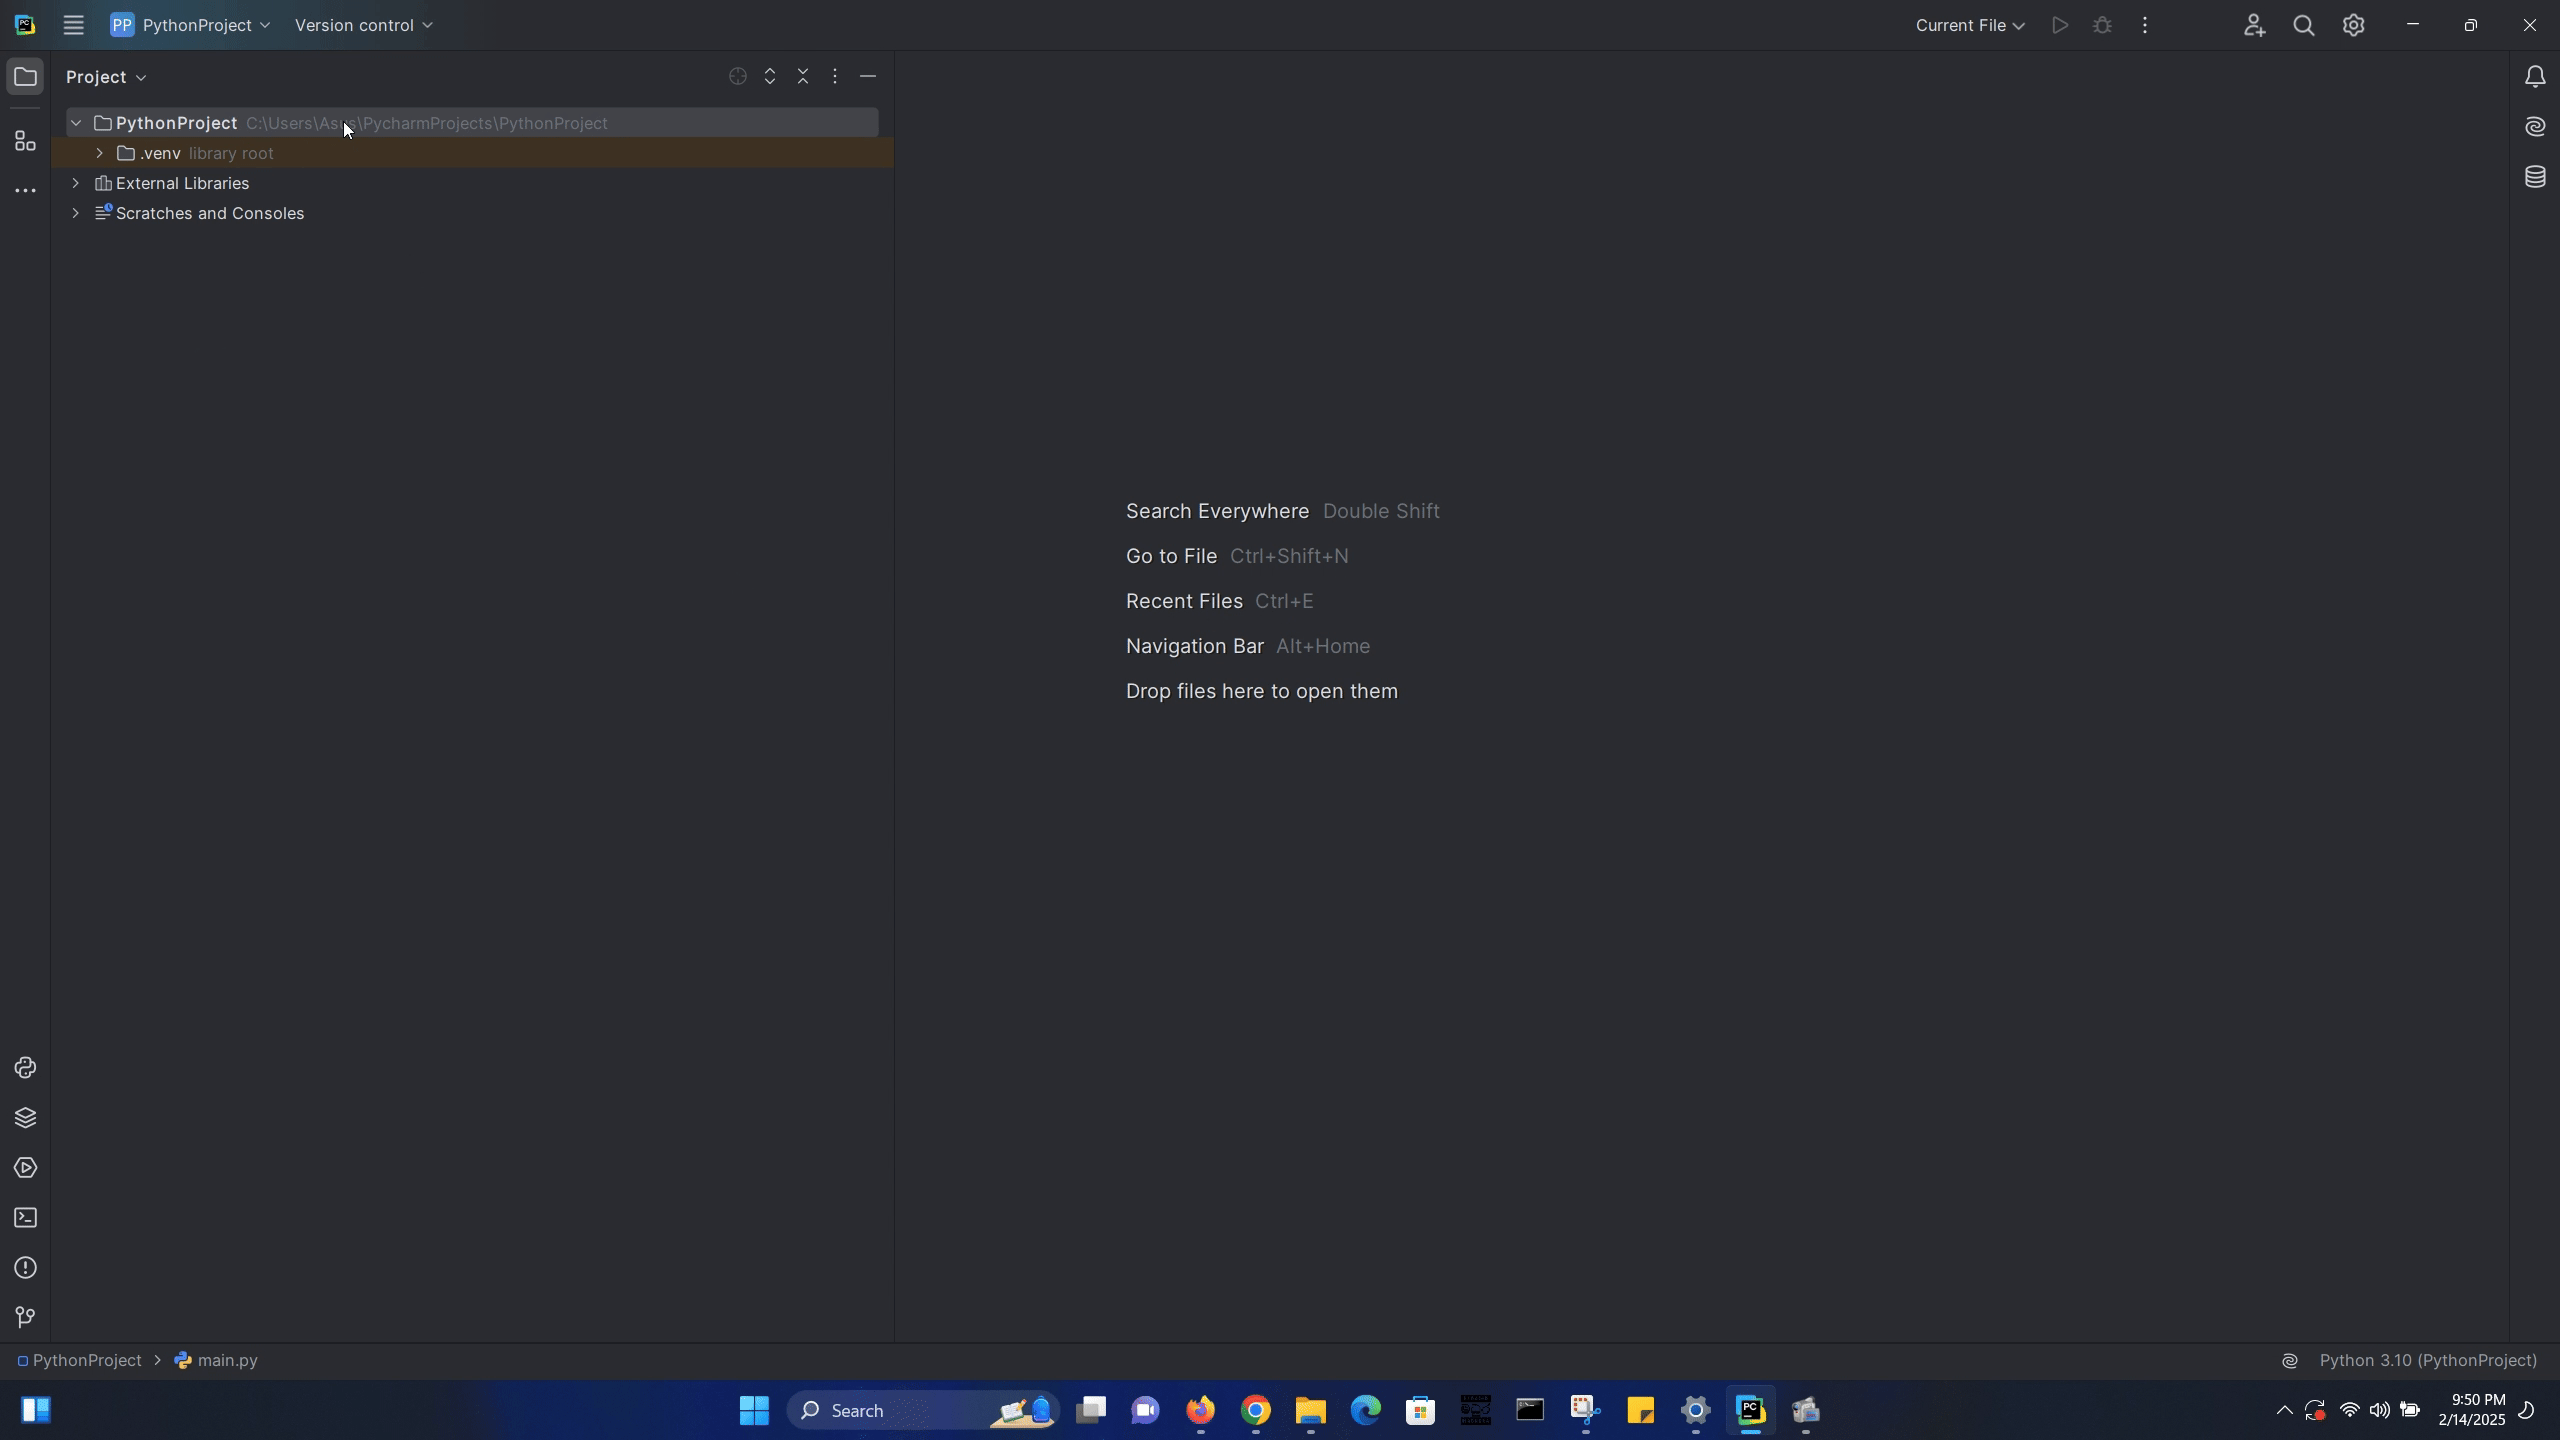
1. Create a New Project in PyCharm
- Launch PyCharm.
- Click “New Project”.
- Choose your project location.
- Ensure “Create a virtual environment” is selected for better dependency management. When you select this, Python virtual environment will be created in the project root. (Ex: C:\Users\Asus\PycharmProjects\PythonProject\.venv. You can read more about virtual environment in the post. )
- There are few built-in options if your project is based in these libraries. For now, we are going to run a small Python script so choose Pure Python.
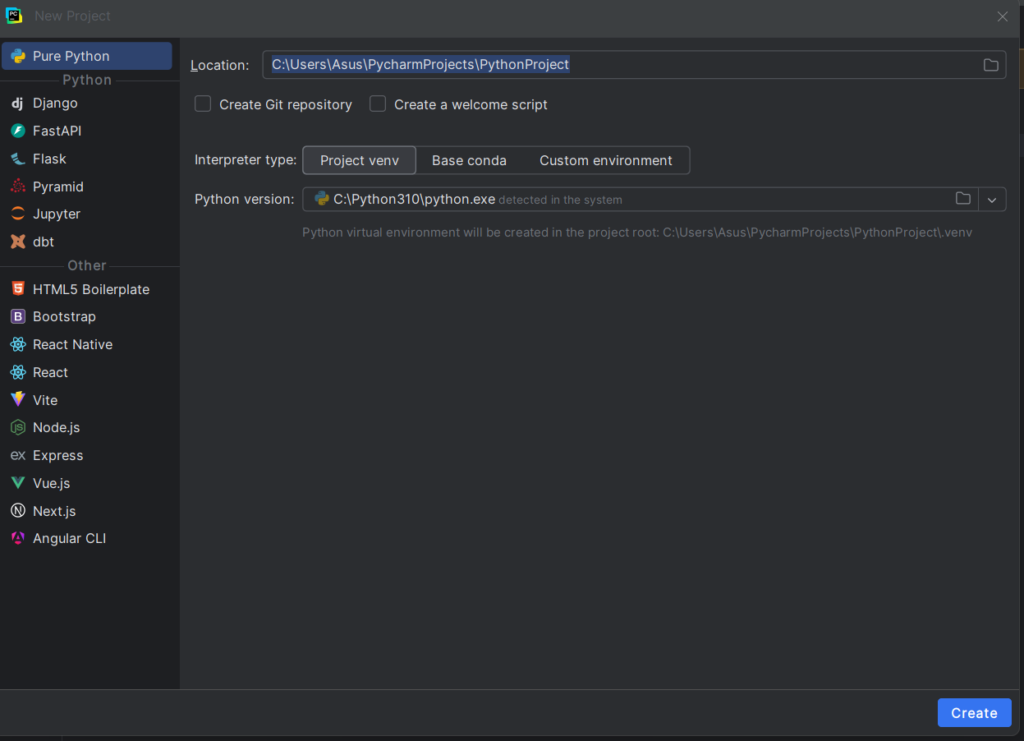
- Click “Create” to set up your project.
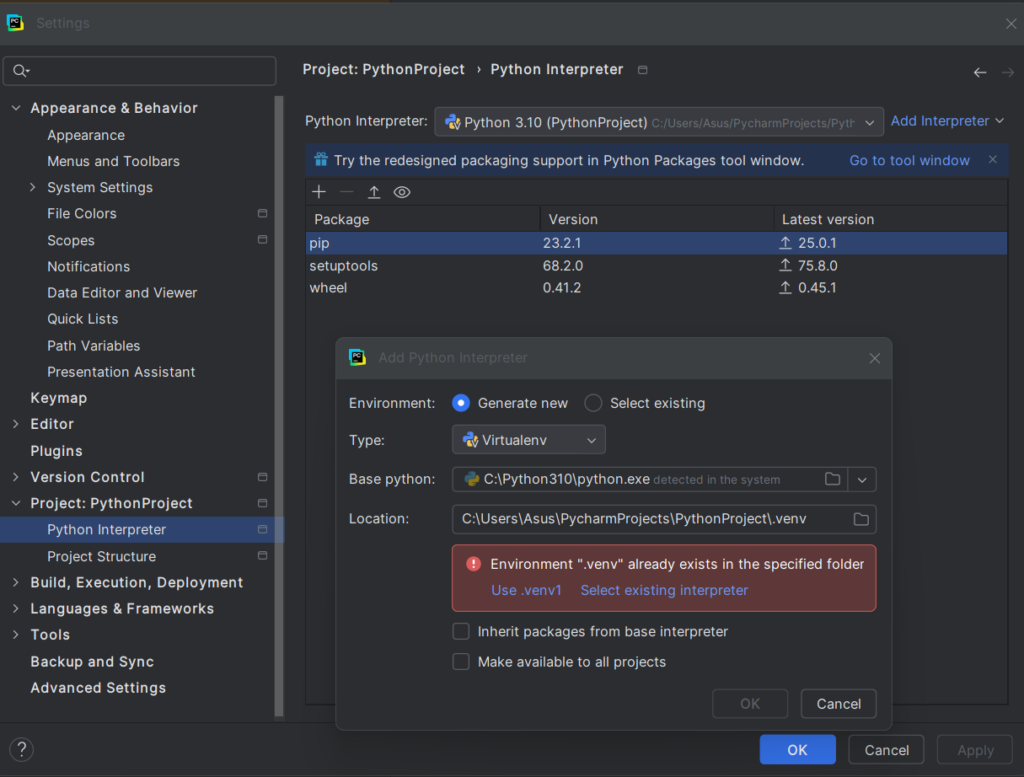
2. Configure the Python Interpreter
Python Interpreter is a program that reads and executes Python code. Read more:
- Navigate to File > Settings (Windows/Linux) or PyCharm > Preferences (Mac).
- Go to Project: [Your Project Name] > Python Interpreter.
- Click Add Interpreter and select your Python installation.
3. Install Essential Python Libraries
- Open the PyCharm Terminal.
- Use
pipto install must-have Python packages
pip install requests numpy pandas flaskStep 4: Write and Run Your First Python Script
- Inside PyCharm, right-click on your project folder and select New > Python File.
- Name the file
main.py. - Add the following Python code:
print("Hello, PyCharm! Welcome to Python programming.")4. Click Run ▶ to execute your script.
Step 5: Activate Virtual Environment (Optional but Recommended)
If you’re using a virtual environment, activate it before installing packages:
source venv/bin/activate   # macOS/Linux
venv\Scripts\activate     # Windows
Conclusion
Congratulations! 🎉 You have successfully installed and configured PyCharm IDE for Python development. Now, you can explore more advanced features like debugging, Git integration, and custom plugins to enhance your Python coding workflow.